GETTING STARTED
For a comprehensive, detailed guide to every feature, read the User Manual.
What is CINEside?
CINEside is a shot planning tool built around your screenplay. Import your script as PDF and CINEside automatically detects all your scenes. Plan your shots scene by scene — always with the script on the right and your shots and notes on the left.
It works completely offline. Your script never has to leave your computer.
Demo mode and full version
CINEside starts in Demo Mode. You can import your screenplay, plan shots, add references, write notes, and see how everything comes together — with your own script.
Three things are disabled in Demo Mode: saving your project as a .cnsd file, exporting to CONNECT for your collaborator, and sharing a project as .cnsf. Everything else works — including the Schedule. PDF exports are watermarked.
When you're ready: buy a license at cineside.app, then click Activate License → in the toolbar, or launch CINEside and enter your key on the license screen. The app switches to the full version immediately — saving, sharing, CONNECT export, and clean PDFs unlock..
One license stays with you. Updates are free.
Automatic updates
CINEside checks for new versions in the background when you start the app. If an update is available, a dialog asks whether you want to install it. You can always choose "Not now" and update later.
Updates are digitally signed. Only updates signed by the official CINEside signing key are accepted — this protects you from tampering.
1. Import your screenplay
Click Import PDF in the toolbar. CINEside accepts PDFs exported from Final Draft or any other screenwriting application. During import, a progress indicator shows the current step for longer scripts. After import, CINEside automatically detects all scene headings (INT./EXT.) and creates a scene for each one. The script text appears on the right side of each scene.
If the same scene appears to occur twice in a row — usually because it continues across a page break — CINEside flags it for review instead of guessing. Uncertain cases are presented one at a time, with the outcome shown immediately after each decision, and you can revisit any earlier decision before finishing. For harder cases, you can view both relevant script pages side by side to compare them directly. If CINEside cannot reliably detect scene boundaries in the imported PDF — for example with non-standard formats — the button Mark scenes manually appears automatically next to the import status. Click any line to mark it as a scene heading; click again to unmark it. This is a fallback for unusual formats and does not affect standard screenplays.
Once detection finishes, the Scene Manager opens automatically so you can review, reorder, or adjust scene boundaries before continuing. If a scene is missing: use Scene Manager to merge or split scenes, or select a heading in the script and click New Scene in the toolbar that appears. Script version: enter the version in the Version field (e.g. "v3 / 2025-04-01") — this appears in your exported PDFs.
No screenplay at hand?
Download a short sample screenplay (PDF) — three scenes, ready to import,
so you can try CINEside straight away. There's also a matching sample
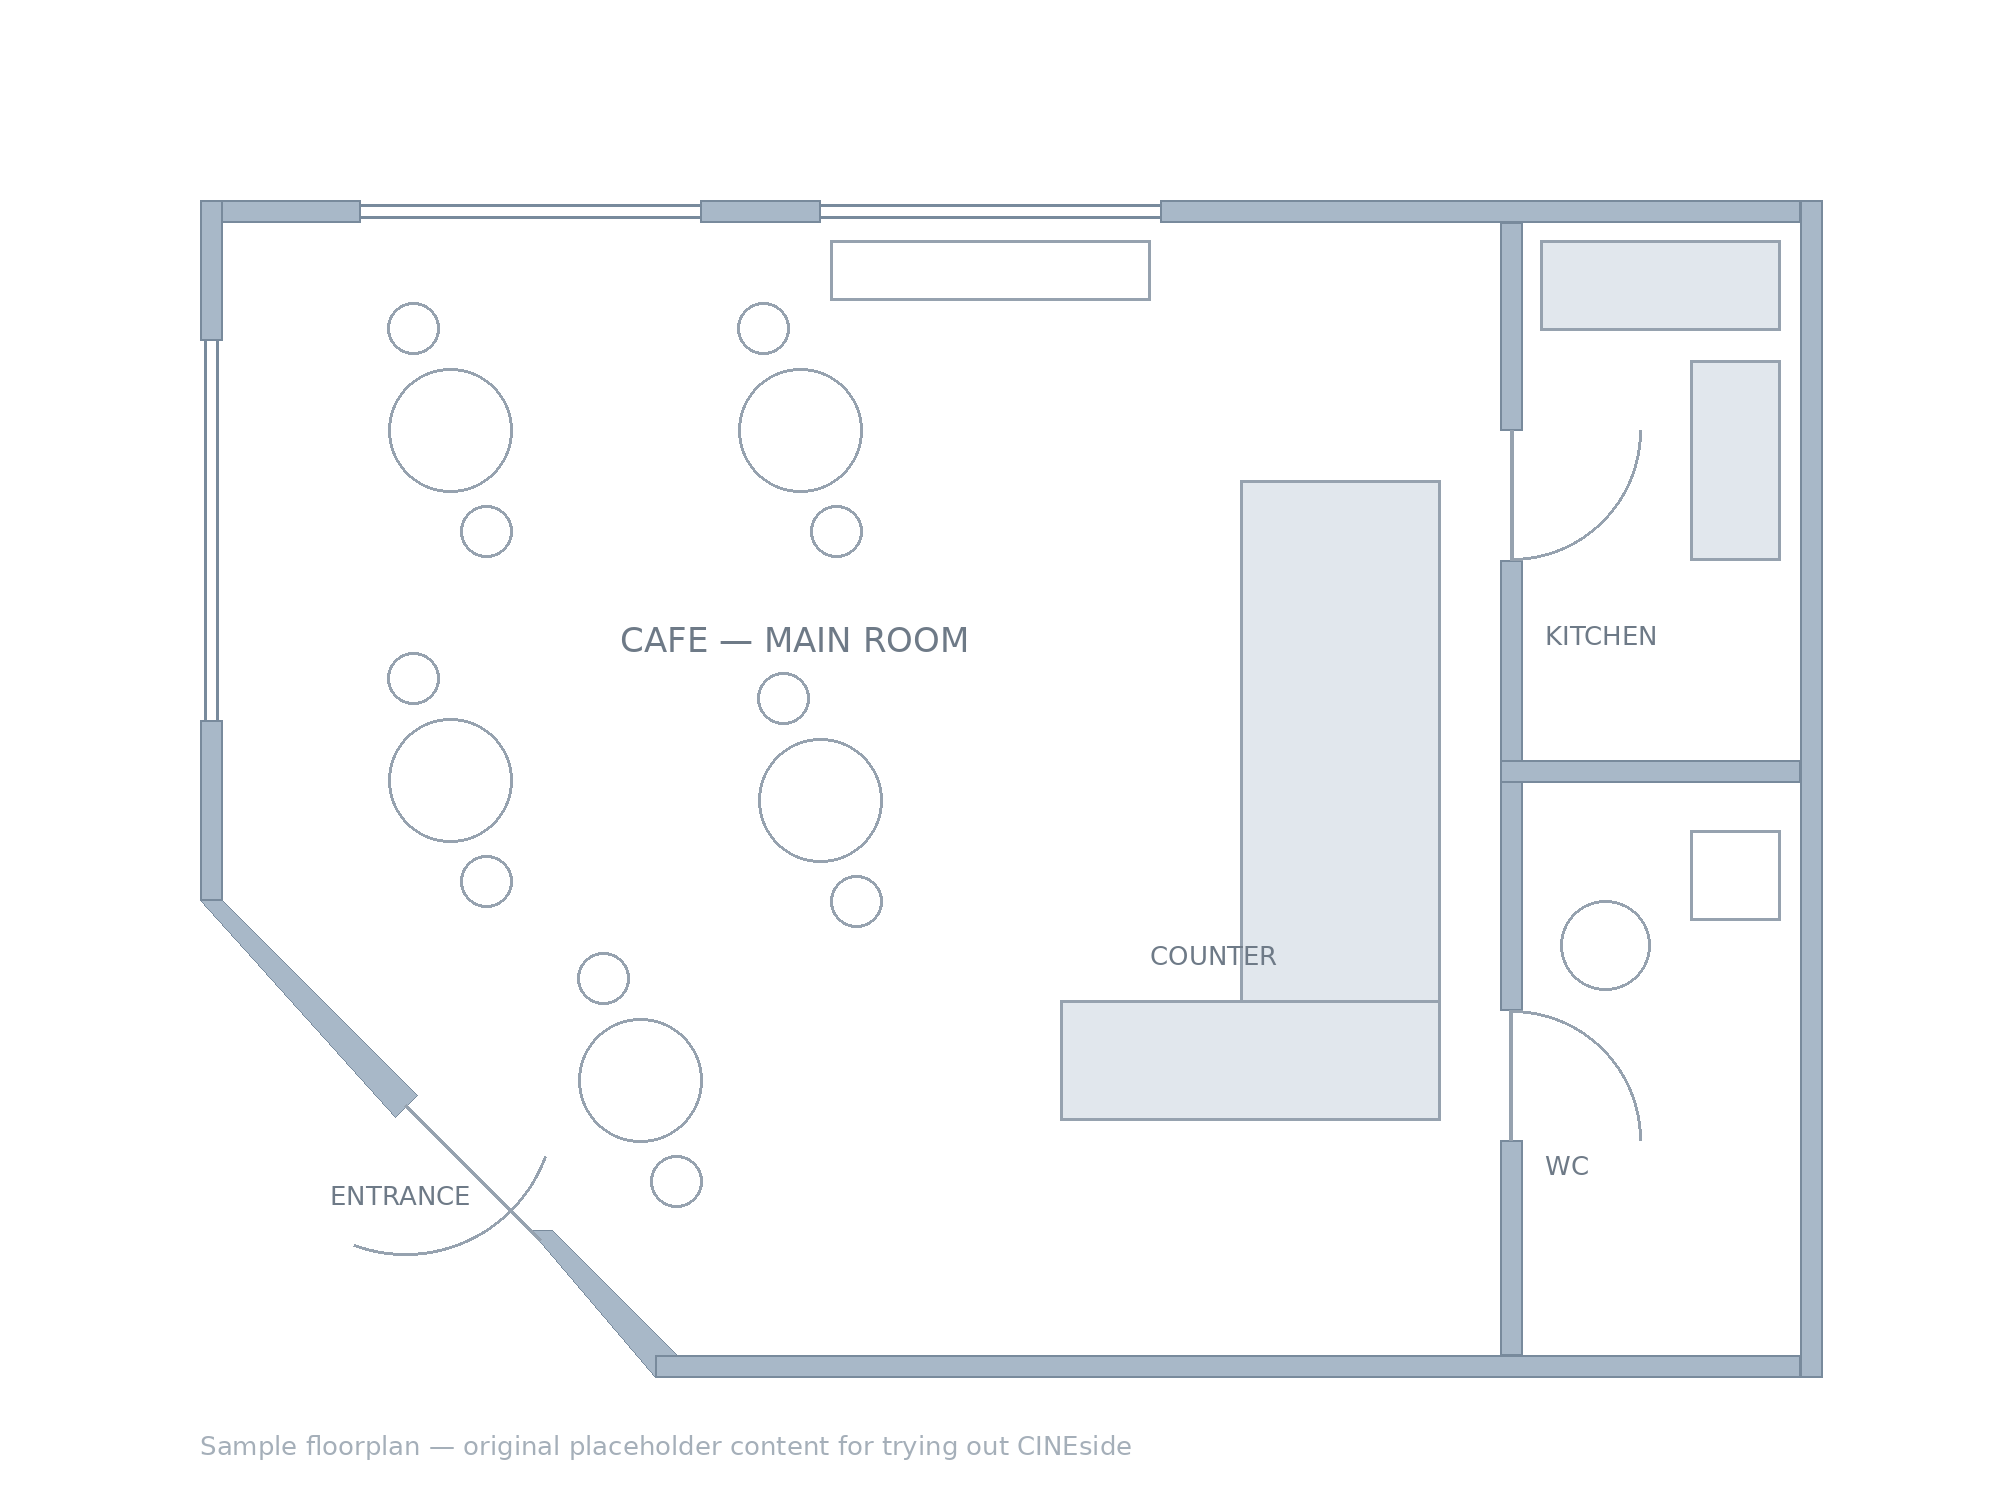
floorplan for scene 1, if you want to try placing camera, character, and
light positions.
Sample screenplay (PDF) ↓ |
Sample floorplan (PNG) ↓
2. Re-importing a revised screenplay
When a new draft arrives, click Import new version — the Import PDF button changes its label once a script is loaded. CINEside offers two modes: Use Full Script when you receive a new draft — CINEside updates the script text throughout while keeping your shots, notes, and anchors intact. Use Revisions Only for partial updates, when you only receive specific revised pages. In both modes, CINEside matches new scenes against existing ones by number, slug line, and text content. When the match is confident, your shots, notes, photos, and anchors stay attached. Less certain matches go through the same review step described above before anything is changed. If a shot's anchor can't be matched — because the passage it was linked to no longer exists — the shot gets a red "out of sync." badge, and its Edit anchor button switches to Re-anchor. Click it, select new text in the script, and the link is restored. After confirming matches, the Scene Manager opens once more so you can review the merged result before continuing.
Scenes marked as deleted keep their shots and notes, CONNECT notes stay with their script line (or move to the scene's notes if the line changed), and a manual shot order is preserved.
3. Navigate between scenes
Use the ↑ ↓ arrows in the toolbar to move between scenes, or use the scene dropdown to jump directly to any scene. Click the target symbol to scroll the current scene back into view.
Keyboard shortcuts: ← → arrow keys (when not typing in a field).
Click Filter in the toolbar to narrow the visible scene list — a small floating panel filters by INT/EXT, Day/Night, and by shot content such as camera support (Steadicam, Camera Car, Drone), VFX/SFX, unit, additional equipment, Day for Night, and additional crew. A counter shows how many scenes match, and the button stays highlighted while a filter is active. While filtering, the scene dropdown and the ↑ ↓ arrows step only between matching scenes. Clear filter shows all scenes again.
Dog-ears — click the corner of a scene header to mark the scene as shot. The Status filter (All / Remaining / Wrapped) shows what's still left to shoot.
The Collapse button hides every empty field, showing only what you've filled in — a clean reading view of your scenes. Click again to show all fields.
4. Plan your shots
Click + Add shot in the shots column of any scene. Each shot card starts with the shot header and its anchor controls, then Shot Title and Description, followed by a divider and the technical fields.
Each shot has:
• Description
• Size — ECU, CU, MCU, Medium, Two Shot, Group, M Wide, Wide, other
• Focal length in mm (with Zoom toggle for descriptive ranges)
• Cam Move — free-text field for camera movement (e.g. "Push in", "Arc right")
• Shot Title — optional name for this shot
• Angle — Eye level, High angle, Low angle, Dutch, Bird's eye, other
• Cam Support — Tripod, Dolly, Handheld, Steadicam, Gimbal, Camera Car, Crane, Drone, other
• POV / O/S toggles
• Camera A, B, C, D, E, F — for multi-camera setups
• Cam Specials — Free-text field for special camera equipment or techniques
• Unit — Main Unit, 2nd Unit, Splinter Unit, Pre-Shoot
• Notes
• VFX / SFX flags
• Photos — attach reference images directly to the shot
Shot Variants — A shot can have multiple variants: alternative framings, lenses, or approaches for the same shot. Click + Variant on any shot to add a variant, labeled A, B, C in sequence. Variants inherit the parent shot's anchor, with their own Size, mm, Angle, Cam Support, Cam Move, and Cam Specials.
5. Anchor shots to the script
Select any text in the script on the right — a toolbar appears.
Click + Shot to create a new shot anchored to that passage, or use Edit anchor on an existing shot to link it.
Anchored shots are highlighted in the script with a colored stripe and badge, so you can always see which part of the scene an anchored shot covers.
You can also work the other way around: click any script block and assign it to an existing shot using the dropdown that appears. This is useful when you've already built your shot list and want to match script passages to shots you already have planned.
6. Scene information
Each scene has a detail panel with two kinds of information: a shared Location panel that connects every scene shot at the same place, and fields specific to that one scene.
Shared across every scene at the same location:
Location / Motif — the actual shooting location or set description. Click in the field to confirm or edit the name — once set, the blue Location panel below expands to show notes, reference photos, floorplan, and a "To Check at Location" checklist. Everything in this panel is shared: edit it once, and it updates on every scene shot there.
You can also add a sub-location to any scene — useful when multiple rooms or areas belong to the same building or set. For example: "Apartment Building" as the location, with "Bedroom", "Living Room" or "Hallway" as sub-locations. The Location Dossier reflects that structure automatically. As you type, CINEside suggests existing sub-locations already used within that same location — keeping room names consistent without pulling in unrelated suggestions from other locations.
Note: Scenes are grouped by location name exactly as entered. Make sure the name is identical across all scenes at the same location — CINEside suggests the scene slug when you click an empty field, which is a good starting point for consistency. As you type, the Location / Motif field also suggests matching names already used elsewhere in your project — helpful for avoiding accidental near-duplicates from typos or incomplete entries (it matches by substring, so typing part of an existing name will surface it).
When you rename a location, CINEside asks you to confirm: a simple rename applies to every scene using that name and keeps all notes and photos attached. If the new name matches another existing location that already has its own data, CINEside warns you before merging the two.
To Check at Location — a shared checklist per location for things to verify on site (check angles, ceiling heights, take specific stills…). Items appear in every scene at the same location. Check items off as you confirm them; checked items are hidden from the Location Dossier PDF. Toggle "To Check" in the Dossier export panel to include open items.
Specific to this scene:
• Scene number, INT/EXT, Day/Night — the Day/Night field offers common values (Day, Night, Dawn, Dusk, Magic Hour…) plus Other… for a free-text time ("3 AM", "Blue Hour"). Any free-text value you use is offered automatically in every scene's dropdown.
• Day for Night, Atmosphere (haze, fog, rain), Mood / Season — each with a color flag and notes field
• Additional Crew — extra crew members specific to this scene. As you type a name, CINEside suggests names already used elsewhere in the project — the same crew member often appears across many scenes and locations.
• Additional Equipment — special equipment requirements. Suggestions from previously entered equipment appear as you type, helping keep naming consistent for the equipment reference sheet export.
• Prep Checklist — a per-scene checklist for things you need to prepare or remember before the shoot. Located below My Notes in each scene— never appear in regular exports or CONNECT packages,can be exported as a dedicated PDF via Export → Prep Checklist tab.
Restore a single scene:
Each scene header has a ⟲ Restore scene button that brings back just that one scene from any backup, without touching the rest of the project. You get a short summary of each stored version (slug, shot count, notes, plans) before you confirm, and the swap is a single Undo step.
7. Scene Tags & References
Use Scene Tags to group scenes by storyline, time period, dream sequence, flashback, or any recurring theme across your film.
Click Add / Edit next to Tags underneath the Location/Motif field. A modal lets you create a new tag with a custom colour, assign existing tags to this scene, or edit a tag you've already made. Renaming a tag or changing its colour updates it everywhere it's used — across every scene, in CINEside CONNECT, and in PDF exports. You can also delete a tag, which removes it from all scenes at once.
Assigned tags appear as coloured stripes along the left edge of each scene — in CINEside, in CINEside CONNECT, and in exported PDFs (enable the Tags toggle in the export panel).
Typical uses:
• Storylines in parallel narratives ("Anne", "Peter", "Both")
• Time periods in historical or time-jumping films ("1890", "Present day")
• Dream sequences or flashbacks
References — link test shoots, reference films, or location websites to a scene. Click + Add to attach a link.
8. Visual references
Visual references live at two levels. Reference Photos, Sun Position, Lighting Plan, and Floorplan — Scene belong to this one scene.
Location Photos and the location's Floorplan live in the blue Location panel instead (see Scene information above) and are shared across every scene at that location.
• Reference Photos — locations, mood images, color references. Each photo can have a caption.
• Sun Position — screenshots from Helios, PhotoPills or similar apps
• Floorplan — storyboards, set diagrams, or hand-drawn plans. Place camera, character, light, and grip anchors on the plan to mark positions and coverage. Click any image to rotate in lightbox.
• Lighting Plan — a dedicated image plus notes field for your lighting setup. Add light and grip anchors to mark fixture positions and coverage. Appears in the facing-pages PDF export if the Lighting toggle is selected.
• Scene Board — click Scene Board in the toolbar to open a dedicated second window showing all visual references for the current scene: floorplan, location photos, lighting plan, Floorplan — Scene, and reference photos.
• Anchors — place camera, character, light, and grip anchors directly onto any floorplan or lighting plan. Drag to position, rotate to set direction and coverage. Anchors are saved with the image and appear in the Location Dossier and facing-pages PDF exports.
9. Notes and annotations
NOTES: Click + Add next to Notes. Each note has a color and a recipient:
DISCUSS WITH: Discuss with Director, Discuss with AD, and so on. These appear in your exported Discuss with Sheets.
SCRIPT ANNOTATIONS: Select text in the script and click + Note, Lighting, or Cam Move. These appear inline in the script and in your exports.
MY NOTES: Every scene has a private Notes field. Use this for personal reminders, open questions to yourself, or observations you don't want to share. These notes stay with the project but are excluded from exports and CONNECT packages unless you explicitly turn on the My Notes toggle at export.
10. Preferences and working mode
Click ⚙ in the top right of the toolbar to open Preferences.
WORKING MODE: CINEside adapts to how you work on a project. In Cinematographer mode (the default), the interface shows lighting plans, sun position, crew and equipment notes, and department discussions addressed to Director, 1st AD, Production, Gaffer, Camera Department, Key Grip, Dolly Grip, Costume, Make Up/Hair, and Art Department. In Director mode, those fields give way to a different set: discussion notes for Screenwriter, Casting, Actor, Editor, and Composer. Switch modes anytime — your data is never deleted, just shown or hidden depending on your role.
SHOT LABELS: Choose whether shots within a scene are labeled numerically (1, 2, 3 …) or alphabetically (A, B, C …). This affects how shots appear in the editor, in exports, and in the Shooting Order.
DEFAULT PROJECTS FOLDER: Change where CINEside saves new projects.
11. Schedule
Click Schedule in the toolbar. The workflow has two phases.
Phase 1 — Assign scenes to shoot days. A full-screen kanban view opens with all your scenes in a pool on the left. Enter the number of shoot days and click Create Days — or add individual days with + Day. Drag scenes from the pool onto any day box. A scene can be assigned to multiple days (it will appear in each box marked as a split). To move a scene between days, drag its chip directly from one box to another. You can rename a day by clicking its label, reorder days by dragging the box header, and swap adjacent days using the ← → arrows. Each day box shows the total number of scenes and shots at a glance. Days can be marked as Pre-Shoot, Splinter Unit, 2nd Unit, or Post-Shoot using the badge on the left of each column header — these are numbered independently from regular shoot days.
Phase 2 — Order the shots. Click Shot Ordering → to continue. Each shoot day has its own tab. Within a tab, drag and drop shots into your planned production sequence — a line indicator shows exactly where the shot will land. Enter an estimated time in minutes per shot; the running total for that day updates live in the tab header. If a scene is split across days, use the day selector on any shot card to assign individual shots to their specific day.
Export. Choose All Days (default) or This Day, then click Export PDF ↗. Each day opens with a header showing the shot count and estimated total time.The CSV export covers all days and is designed for the AD — importable into Excel, Numbers, or a scheduling software. Enable the Scene and Shot toggles in the export panel to include additional crew & equipment, scene photos, floorplan, lighting, shot photos, notes, and reference links alongside the shot sequence.
The schedule is saved with the project and restored when you reopen the modal.
12. Export PDF
Click → Documents in the toolbar on top
Choose your layout:
• Shots & Script: facing pages, shots on the left, script on the right.
• Shot List only: just the shots, no script pages.
• Format: A4, US Letter, iPad / Tablet — the same layout with larger text. In iPad / Tablet mode, a labeled "NOTES" box with a fine dot grid is added after each shot — space to write directly on the PDF with an Apple Pencil. This export remains useful even now that CINEside runs natively on iPad — it's the right format when you want a fixed PDF to annotate with Apple Pencil, or to hand to someone who doesn't use CINEside.
Under Include, select what gets added to the export: Scene Photos, Shot Photos, Floorplan, Location, Lighting, Script Notes, My Notes, Tags, and Links. All are off by default — click individual toggles to turn them on, or use Full to enable all and None to reset.
Under Scenes, choose which scenes to include — use All / None to select or clear every scene at once, all are selected by default, but you can deselect individual scenes for a partial export.
Add an optional Note that appears on the title page — useful for version notes or a message to collaborators.
A quick Filter — INT/EXT and Day/Night — sits above the scene selection and narrows which scenes are included. Because it drives the scene selection, it applies across the exports that use it (Shots & Script, Shot List, Reference Sheets, Prep Checklist, Location Dossier). You can still tick or untick individual scenes afterwards.
Tabs and tiles only select what you want to export — every PDF starts with the same Export PDF ↗ button. Discuss with shows its department list directly in the panel.
From the export panel you can also generate Reference Sheets:
• Notes Sheet — all notes, sorted by scene and recipient
• VFX Sheet — all VFX-flagged shots in one document
• SFX Sheet — all SFX-flagged shots in one document
• Additional Equipment — all additional equipment entries across all scenes, filterable by category: Camera, Cam Support / Dolly, Lighting, and Grip. Useful for sending category-specific lists to individual departments.
• Additional Crew
• Discuss with
• Location Dossier — a dedicated PDF for one or more shooting locations. Open the Location Dossier tab in the export window, select the locations directly in the panel, then click Export PDF ↗. The Dossier ↗ button in a scene's location panel opens this tab with that location already selected. Select which locations to include, then export. Each dossier opens with the location's notes and reference photos, followed by all scenes at that location — with crew, equipment, scene photos, floorplan, and shots. Script text is omitted to keep the document focused. Useful for location walkthroughs and as a brief for the crew at that location.
In Shot List only mode, the panel also offers a CSV export — the full shot list as a spreadsheet, ready to open in Excel, Numbers, or Google Sheets.
13. Save your project
Click Save (Cmd+S) to save your project. The first time you save, CINEside asks for a project name and creates a self-contained project folder:
MyFilm/
• MyFilm.cnsd — your project file
• photos/ — all reference images
• photos/.unused/ — photos no longer used anywhere in the project or its backups are moved here instead of being deleted. Undo and Restore bring them back automatically.
• .backups/ — automatic backups (hidden)
By default, CINEside saves all projects into ~/Movies/CINEside Projects. You can change this location in the Save dialog by clicking Change… — CINEside remembers your choice for future projects.
Saving is atomic — a crash or power loss mid-save can never corrupt your project. Alongside the three most recent rotating backups, CINEside keeps hourly anchors (last 12 work hours), daily anchors (last 14 work days), and a safety copy before every script re-import — all in the hidden .backups/ folder. If a project file is ever unreadable, it opens the most recent backup automatically. To see the backups in Finder, press Cmd+Shift+. to show hidden files.
After the first save, Cmd+S saves directly without any dialog. Double-click the .cnsd file inside your project folder to reopen the project.
To go back to an earlier state, open Preferences → Backups and click Restore… next to any version. CINEside first saves your current state as "Before restore", and nothing is written to your file until you save. Replacing a project on import or Save As keeps a "Before replace" copy. These safety copies are listed at the top.
14. CINEside CONNECT | Collaborate with your director or cinematographer
Export your project for collaboration: click CINEside CONNECT → Export in the toolbar. This creates a .cnct file your collaborator opens in CINEside CONNECT — a free companion app available at cineside.app.
The recipient double-clicks the .cnct file to open it in CONNECT, adds notes to shots, script passages, and to images, then exports a .cnsn notes file and sends it back to you.
Import the notes back into CINEside: double-click the .cnsn file or use CONNECT → Import Notes in the toolbar. All notes appear highlighted in your project, ready for you to review and act on.
CONNECT is read-only — it's designed for annotating a finished shooting script, not for editing the project itself. If you need to share a fully editable project, use the Share button instead (see section 15).
15. Sharing a project — .cnsf
CINEside CONNECT handles the collaboration loop between a finished shooting script and director annotations. But sometimes the collaboration goes further — and CINEside supports two working directions.
The Cinematographer leads. Build your shot list, add lighting plans, reference photos, and notes, then share with the director so they can review and annotate directly in CINEside.
The Director leads. Plan the project from a director's perspective — scene by scene, with casting thoughts, editor notes, and visual references, for their own shooting script or PDF export — then hand it to the cinematographer as a starting point.
For either direction, use the → Export Project button in the toolbar. It opens a dialog with three options:
Full → send to iPad / Mac — a complete 1:1 copy with all notes and photos, nothing removed. Use this to send the project to an iPad or Mac, or to move it between your own devices.
For Director — a .cnsf package with the full project and all reference photos, stripped of your private DP notes (lighting plans, sun position, crew, equipment).
For Cinematographer — a .cnsf package stripped of your private director notes (screenwriter, casting, actor, editor, composer discussions).
Both include locations and the full schedule; My Notes and dog-ears are not included.
The recipient opens the .cnsf file in CINEside. A dialog asks for a project name and save location — after that, it becomes a normal editable CINEside project, with all reference photos included and working immediately.
Although technically possible, it is not recommended for two people to both work in CINEside individually and send .cnsf packages back and forth — each export is a full project snapshot with no merge capability. The app works best if one person is the author of the file and the other collaborates via CONNECT.
File formats
CINEside uses four file types:
All four file types are registered on your Mac — double-click any of them to open the right app automatically.
Tips
• Scene Manager — merge scenes that were incorrectly split, or remove false positives from the PDF import
• Part Divide — split a long scene into parts without creating separate scenes. Select text in the script and click ✂ Divide
• Search — matches in fields are framed, the cursor stays in the search box, and Enter steps to the next result. With an active filter, hidden scenes are skipped and counted ("+ 3 hidden by filter"). Use p42 to jump to script page 42..
• Undo — the ↩ Undo button undoes your last change (up to 40 steps), including location notes, photos and floorplans
• Edit Screenplay Text — Select text in the script — the Attach bar appears below. Click ✎ Edit to place the cursor and correct OCR errors or typos directly.
• Keyboard shortcuts — Cmd+S (save), Cmd+Z (undo), ← → arrows (navigate scenes)
• On set with iPad — Use the iPad / Tablet pdf export for the best on-set experience
• Reading mode — the Collapse button hides empty fields so a scene shows only what you've filled in.
Support
Questions, feedback, bug reports: info@cineside.app | Every message is read personally.
© 2026 Matthias Grunsky · CINEside